There was at one point where I would eat a package of 8 chicken thighs within two weeks. Chicken became my go-to protein for weeks on end because they were so versatile and kinda hard to screw up. Plus, I was going through a stock/broth making phase and wanted an excuse to have bones. This recipe became a personal favorite as it allowed me to make one or two complete meals in with very little preparation and forethought. Most of the ingredients I already have in my pantry so all it really required was chicken and other spices. The only other thing that’s special about this dish, is cooking it with equipment that can withstand oven heat. I have a wonderful cast iron skillet that I use, but you can also use a Dutch Oven or even certain non-stick pans. This is one of those one-pot meals that you spend maybe 10-15 minutes preparing for in the beginning, before sticking it into the oven for about 45-60 minutes and then dressing it at the end. I usually made one portion for dinner and then take the second portion to school for lunch, but that’s entirely up to you how you want to structure your meals. This may be the only meal that is somewhat equivalent to “meal-prepping”.

Ingredients:
Chicken – This is entirely up to you. I personally prefer dark meat, so I always buy bone-in, skin-on chicken thighs. You an adapt this recipe to use chicken breasts, wings, drums, etc. For me, I usually consume two pieces of chicken per meal, which could be a thigh and a drum or two thighs etc.
Rice – I use short-grain rice, but I would imagine you can use grains that you prefer, just follow soaking or washing protocols that you’re familiar with. I used a 12-inch cast-iron skillet which allowed me to use 2 1/4 cups of rice (yes I have a Taiwanese rice cooker whose measuring cup = 3/4 cup.)
Aromatics – I like to use onions and garlic, sometimes I swap out onions for shallots, but regardless, it’s diced and use to build a base of flavors. Sometimes, I don’t cut my garlic and just leave the cloves whole and peeled.
Chicken Stock – If you have homemade chicken stock, feel free to use that, I prefer the Better Than Bouillon Chicken stock when I dilute it in some hot water.
Salt & Pepper – Seasoning
The reality is, this dish is very much a blank canvas. You can make a custom spice mix, use a pre-made spice mix, marinate your chicken ahead of time, use different types of stock, etc. I’ve made variations of this dish using a custom “Cajun” spice blend which I will outline below. I’ve also used water, used beer to deglaze and have also used diluted miso as well. There’s really no wrong answer, and the ability to try different things and different flavor combinations is pretty fun.
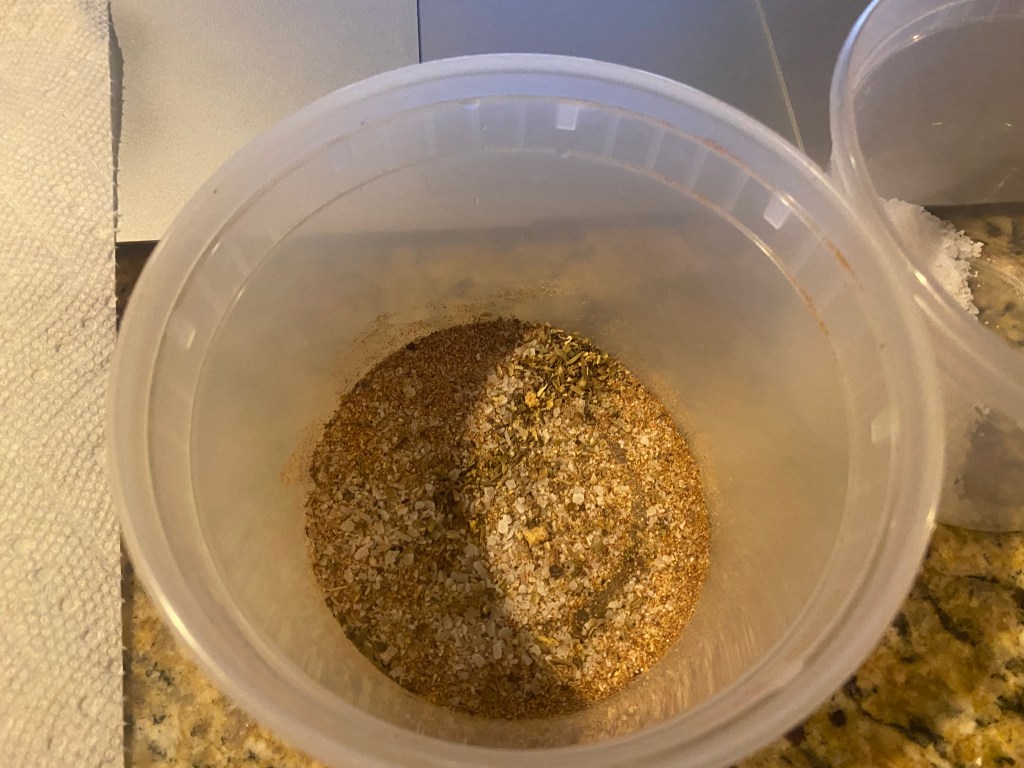
My “Cajun” Spice Blend
I use quotation marks because the exact measurements are not entirely accurate to a “cajun” blend, rather I am using spices and seasoning found in cajun cuisine and adjusting and adapting to my preferred flavors. I use the following ratios for my seasoning:
4 parts Kosher Salt
3 parts Black Pepper
3 parts Smoked Paprika
2-3 parts Cayenne Pepper
1 part garlic powder
1 part onion powder
2 parts white pepper
1 part dried oregano or “Italian seasoning”
Some sugar
Mixed together and depending on how much you make, you can store it in a dry container for a couple weeks.
Preparation:
In terms of methodology, I will outline sort of the base of this dish and then perhaps add an addendum at the end to describe what I usually to do augment this dish.
– Dice your onions or shallots and peel the garlic.
– Wash your rice and set aside.
– Pat dry chicken (the more dry the outside is, the crispier the skin.
– Season chicken (do it the day before or an hour before to allow for greater penetration of flavor). If you do do it overnight, make sure to stick chicken into the fridge, as it will allow the skin to continue to dry out for further crispiness.
Preheat your oven to 375.
Method:
Step 1: Add a tablespoon of your preferred fat (vegetable or canola oil, butter, or animal fat) into your skillet. Then place your chicken thighs skin down and let the skin brown but not burn. Set aside, you will finish cooking them in the oven.
Step 2: Add your aromatics and be sure to scrape off the browned bits off the bottom. If too hot, deglaze with a bit of liquid. Cook until fragrant.
Step 3: Add the rice and cook the aromatics with the grains. Deglaze with 1/2 a glass of wine, making sure to let the liquid boil off (you can skip this step if you don’t want to use wine).
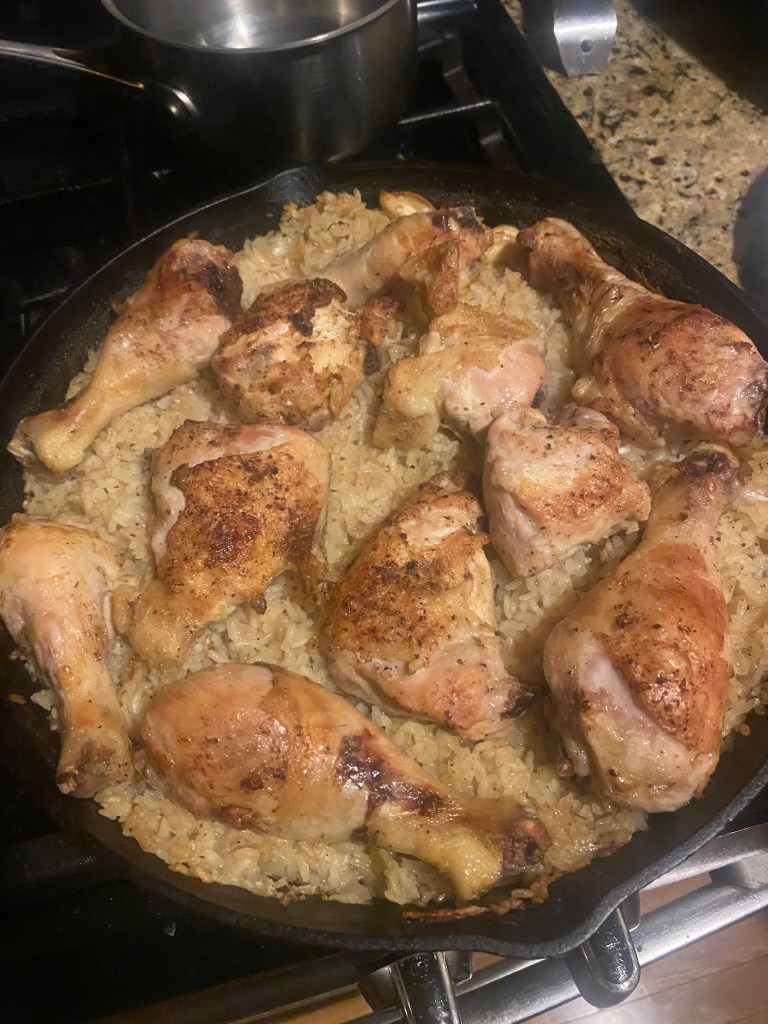
Step 4: Add chickens back on top of the rice. Then add stock (or any other liquid) to about 1/4-1/2 inch above the surface of the rice. Cover with foil and then stick into the oven for 60 minutes.
Step 5: Pull out and rotate every 15 minutes, remove foil after 45 minutes. Check if rice needs more liquid.
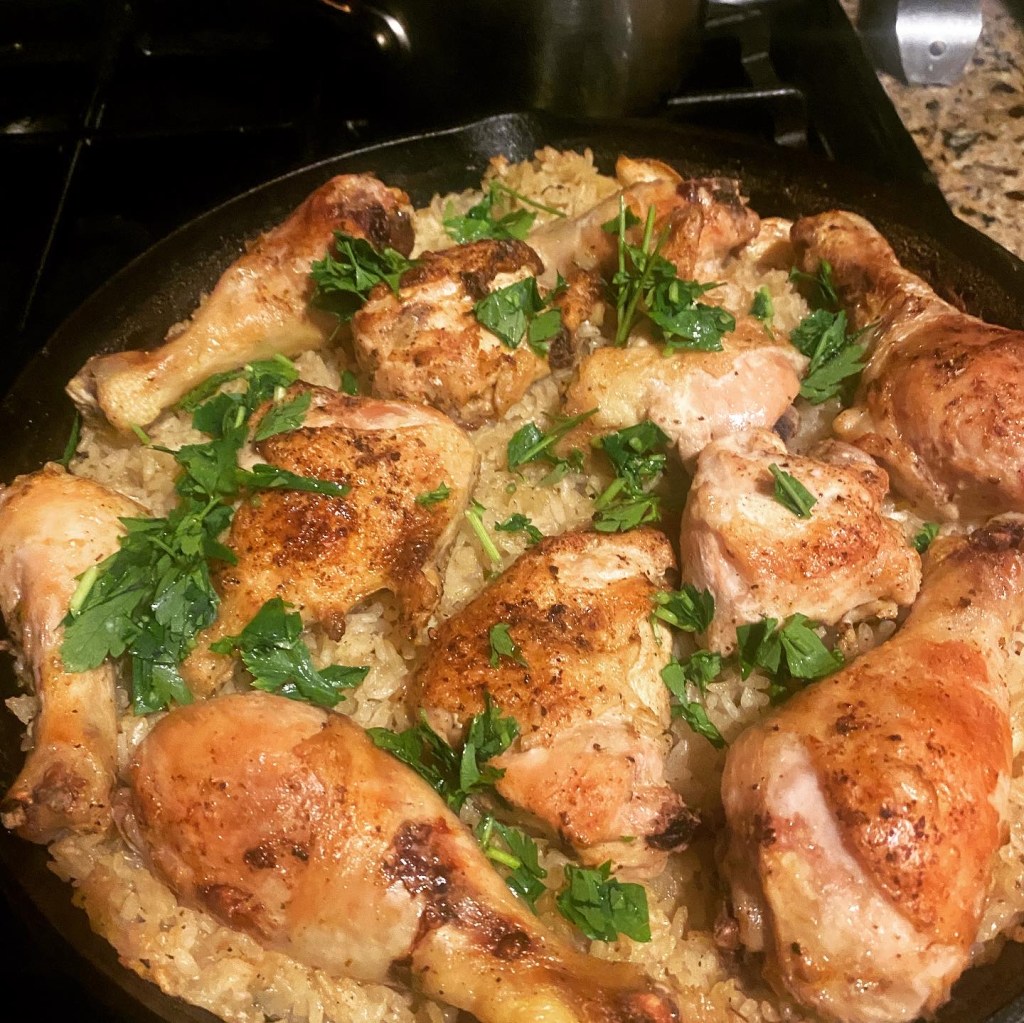
Step 6: Set broiler to high, and broil for 5 minutes, or until skin crispy and well charred. Remove chicken, serve with the rice and any greens.
Included in this recipe is my take on a Peruvian Aji Verde, or green sauce. It’s highly addicting and I make it every time I have chicken.


Peruvian-Inspired Aji Verde
Ingredients:
1 or 2 bushels of cilantro
3-4 cloves of garlic (or to your heart’s desire)
Mayo (I use about 3-4 tablespoons of “American” mayo like Hellman’s and then same sorta amount with Japanese Kewpie mayo)
Juice of a whole lime
1 Jalapeno
Salt and Pepper
Sugar
Oil
Parmesan Cheese
Method:
Step 1: Roughly chop the jalapeno, being careful to remove the seeds (to self season at the end), and then add all the ingredients into a blender. Blend until desired consistency. Add more oil if too thick, season to taste. Should be savory and full of umami. If not spicy enough, add more seeds. If too spicy add some sugar.

Chicken is a very versatile meat, and cooking rice in the juices/stock is just really satisfying. As I mentioned above, it’s the sorta meal that can be adapted and changed very easily. Adjusting seasoning or sauces can make this into a weekly meal with still enough variance to be interesting.
