When I first started cooking for myself in graduate school, I could not be bothered to make multiple dishes for a meal. I focused on making one dish meals such as pastas or souping up my instant ramen, and a great deal of Indomie. At some point, I became inspired to start making donburis or Japanese rice bowls. My guess it was around the same time I purchased my very own Tatung Rice Cooker. Donburis are the quintessential comfort food. It is essentially a bowl of hot steaming rice with a some form of protein and a sauce. In Japan, there are many fast food chains dedicated to the dish such as Yoshinoya and Sukiya.
After watching a good amount of videos as well as doing independent research, I believe I’ve come down to a pretty decent recipe for Oyakodon. Oyakodon is a Japanese amalgamation word, meaning it’s a term that combines multiple words together. “Oya” means mother, and “ko” means child, and finally “don” means bowl. So in direct translation, oyakodon is “mother-child bowl”. The most common form of the dish uses chicken and egg as representations of “mother and child”. Since that first attempt in 2017, I have refined and practiced this recipe many times to the point where I am quite proud of my recipe. In the experimentation process and continued research, I’ve come to use this recipe as a way of exploring more and more Japanese cuisine, especially when it comes to the sauce, which I will explain further. As expected this recipe utilizes some ingredients that would are more likely to be found in Japanese or Asian grocery stores.
Ingredients:
Chicken – The main component to this dish. I typically choose to buy bone-in, skin-on chicken thighs, but the recipe really just calls for chicken thighs. I like to buy the bone-in to keep the bones for stock making and using the skins to render out fat for other uses. I use one chicken thigh per bowl.
Egg – The second main component to this dish. One egg per bowl.
Rice – I use short grain rice. Since its a bowl, you only need to make enough for one dish, or just have extra rice for other things.
Dashi – Dashi is Japanese soup stock that served as the basis for most Japanese dishes. It is often made with kombu (dried kelp), dried shiitake mushrooms, dried seafood or a combination. In this case, I purchased a concentrated dashi stock for this dish, but I have made dashi in other occasions.
Light Soy Sauce – The Japanese term is usukuchi, which you can find in most Japanese supermarkets. If you’re going to substitute, choose any generic brand of soy sauce, but not a less sodium version. Light soy sauce is actually higher in sodium content and is used mainly for seasoning.
Mirin – Mirin is a Japanese cooking wine that has less alcohol content than sake and is more sugary.
Sake – I just use a generic cooking sake, nothing fancy, nothing I would drink either.
Sugar – Fine white sugar for taste
Onions – Thinly sliced onions help round out the dish that add natural sweetness and texture.
Scallions – As always for garnish
Mitsuba Parsley – If you can find it, this Japanese parsley is extremely fragrant and has a distinctive celeriac taste.
Togarashi – Japanese chili flakes if you’re so inclined.
Method:
This dish is honestly one of those 15 minute meals, assuming the rice is cooked and everything is prepped. It’s a fairly quick and easy dish to make, but it also requires a good deal of tasting and adjusting to your own preferential flavor profile.
Preparation:
– Cook rice
– Cut chicken thigh into bite size pieces.
– Slice onions thinly
– Beat egg (doesn’t have to be completely mixed together)
– Make sauce, mix 4 parts Dashi to 1 part usukuchi 1 part mirin, 1 part sake and 1 part sugar. Taste and adjust accordingly. You should have enough sauce to cover all your cut ingredients. Say maybe half a bowl or so. Remember, if you’re using the concentrated dashi, you will need to dilute or use significantly less.
Step 1: Pour about 3/4 of your sauce into a small non-stick pan and add your onions. Let them cook for about 4-5 minutes at medium heat, until they’re beginning to soften. The goal is for the cooked mixture to envelope a nice bowl of hot rice, so don’t use a pan that’s too small or too large.
Step 2: Add your cut chicken and cover with a lid. Because the chicken is cut into bite sized pieces, it should cook relatively quickly around 5-6 minutes. Stir, every once in a while and add more sauce or water in case the sauce boils off too much.
Step 3: Once chicken has fully cooked, taste for seasoning, if its too salty, add some more water or sugar, if its too bland, add some more soy sauce or dashi. Then add the egg mixture gently. To do so, take a pair of chopsticks and hold them against the bowl of your beaten eggs. Pour the eggs using the chopsticks as a guide for the liquid. Use it to pour carefully over the sauce mixture to allow for maximum coverage. Keep on heat for 1 minute, before removing and covering once more.
Step 4: Add scallions and mitsuba to garnish, before pouring over bowl of hot steaming rice. Eggs should be nice and runny and the sauce should thicken nicely.
Sauce
So I decided to dedicate an extra special paragraph or chunk on the sauce. Japanese cuisine tends to use the same five ingredients for most of their sauces. Similar how in French cuisine often times a roux is made, Japanese cuisine uses these same ingredients, albeit at different proportions. As a result, it is quite handy to have all said ingredients: dashi (whether concentrated or dry), usukuchi, mirin, sake and sugar. As I’ve made other dishes such as tempura, soba and gyudon, I often return to these staples to help find that perfect Japanese flavor profile.

Mirin and Usukuchi (light soy sauce) 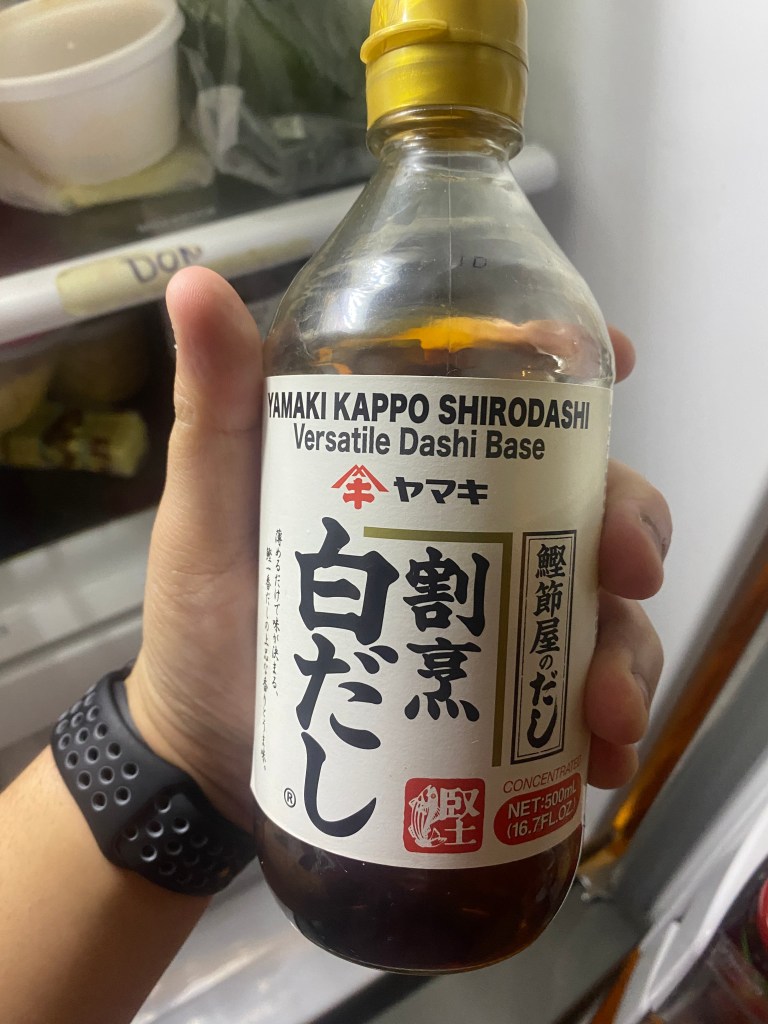
Concentrated Dashi Stock 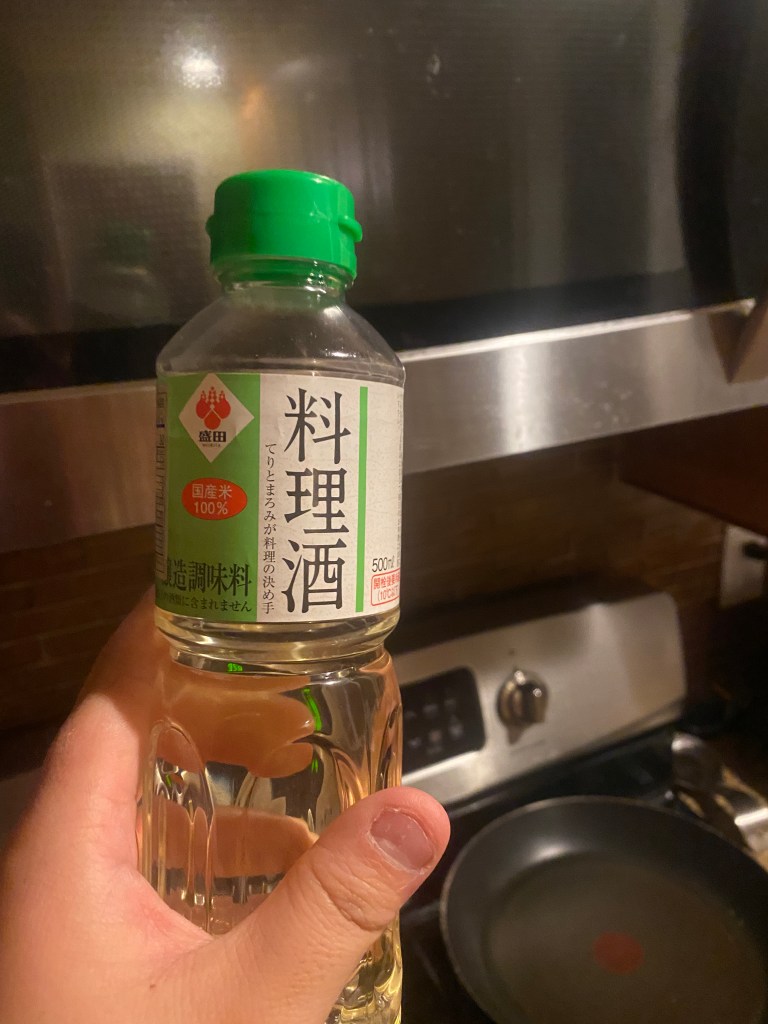
Cooking Sake
This has really become a staple in my kitchen and I try to make it when I have nothing else planned. I always have chicken thighs in my freezer, rice in my pantry and the necessary sauce components scattered around. It’s hard to source Mitsuba and they go bad very quickly, so I usually forgo that ingredient, but otherwise, this dish is worth having the ingredients around for.
Enjoy!
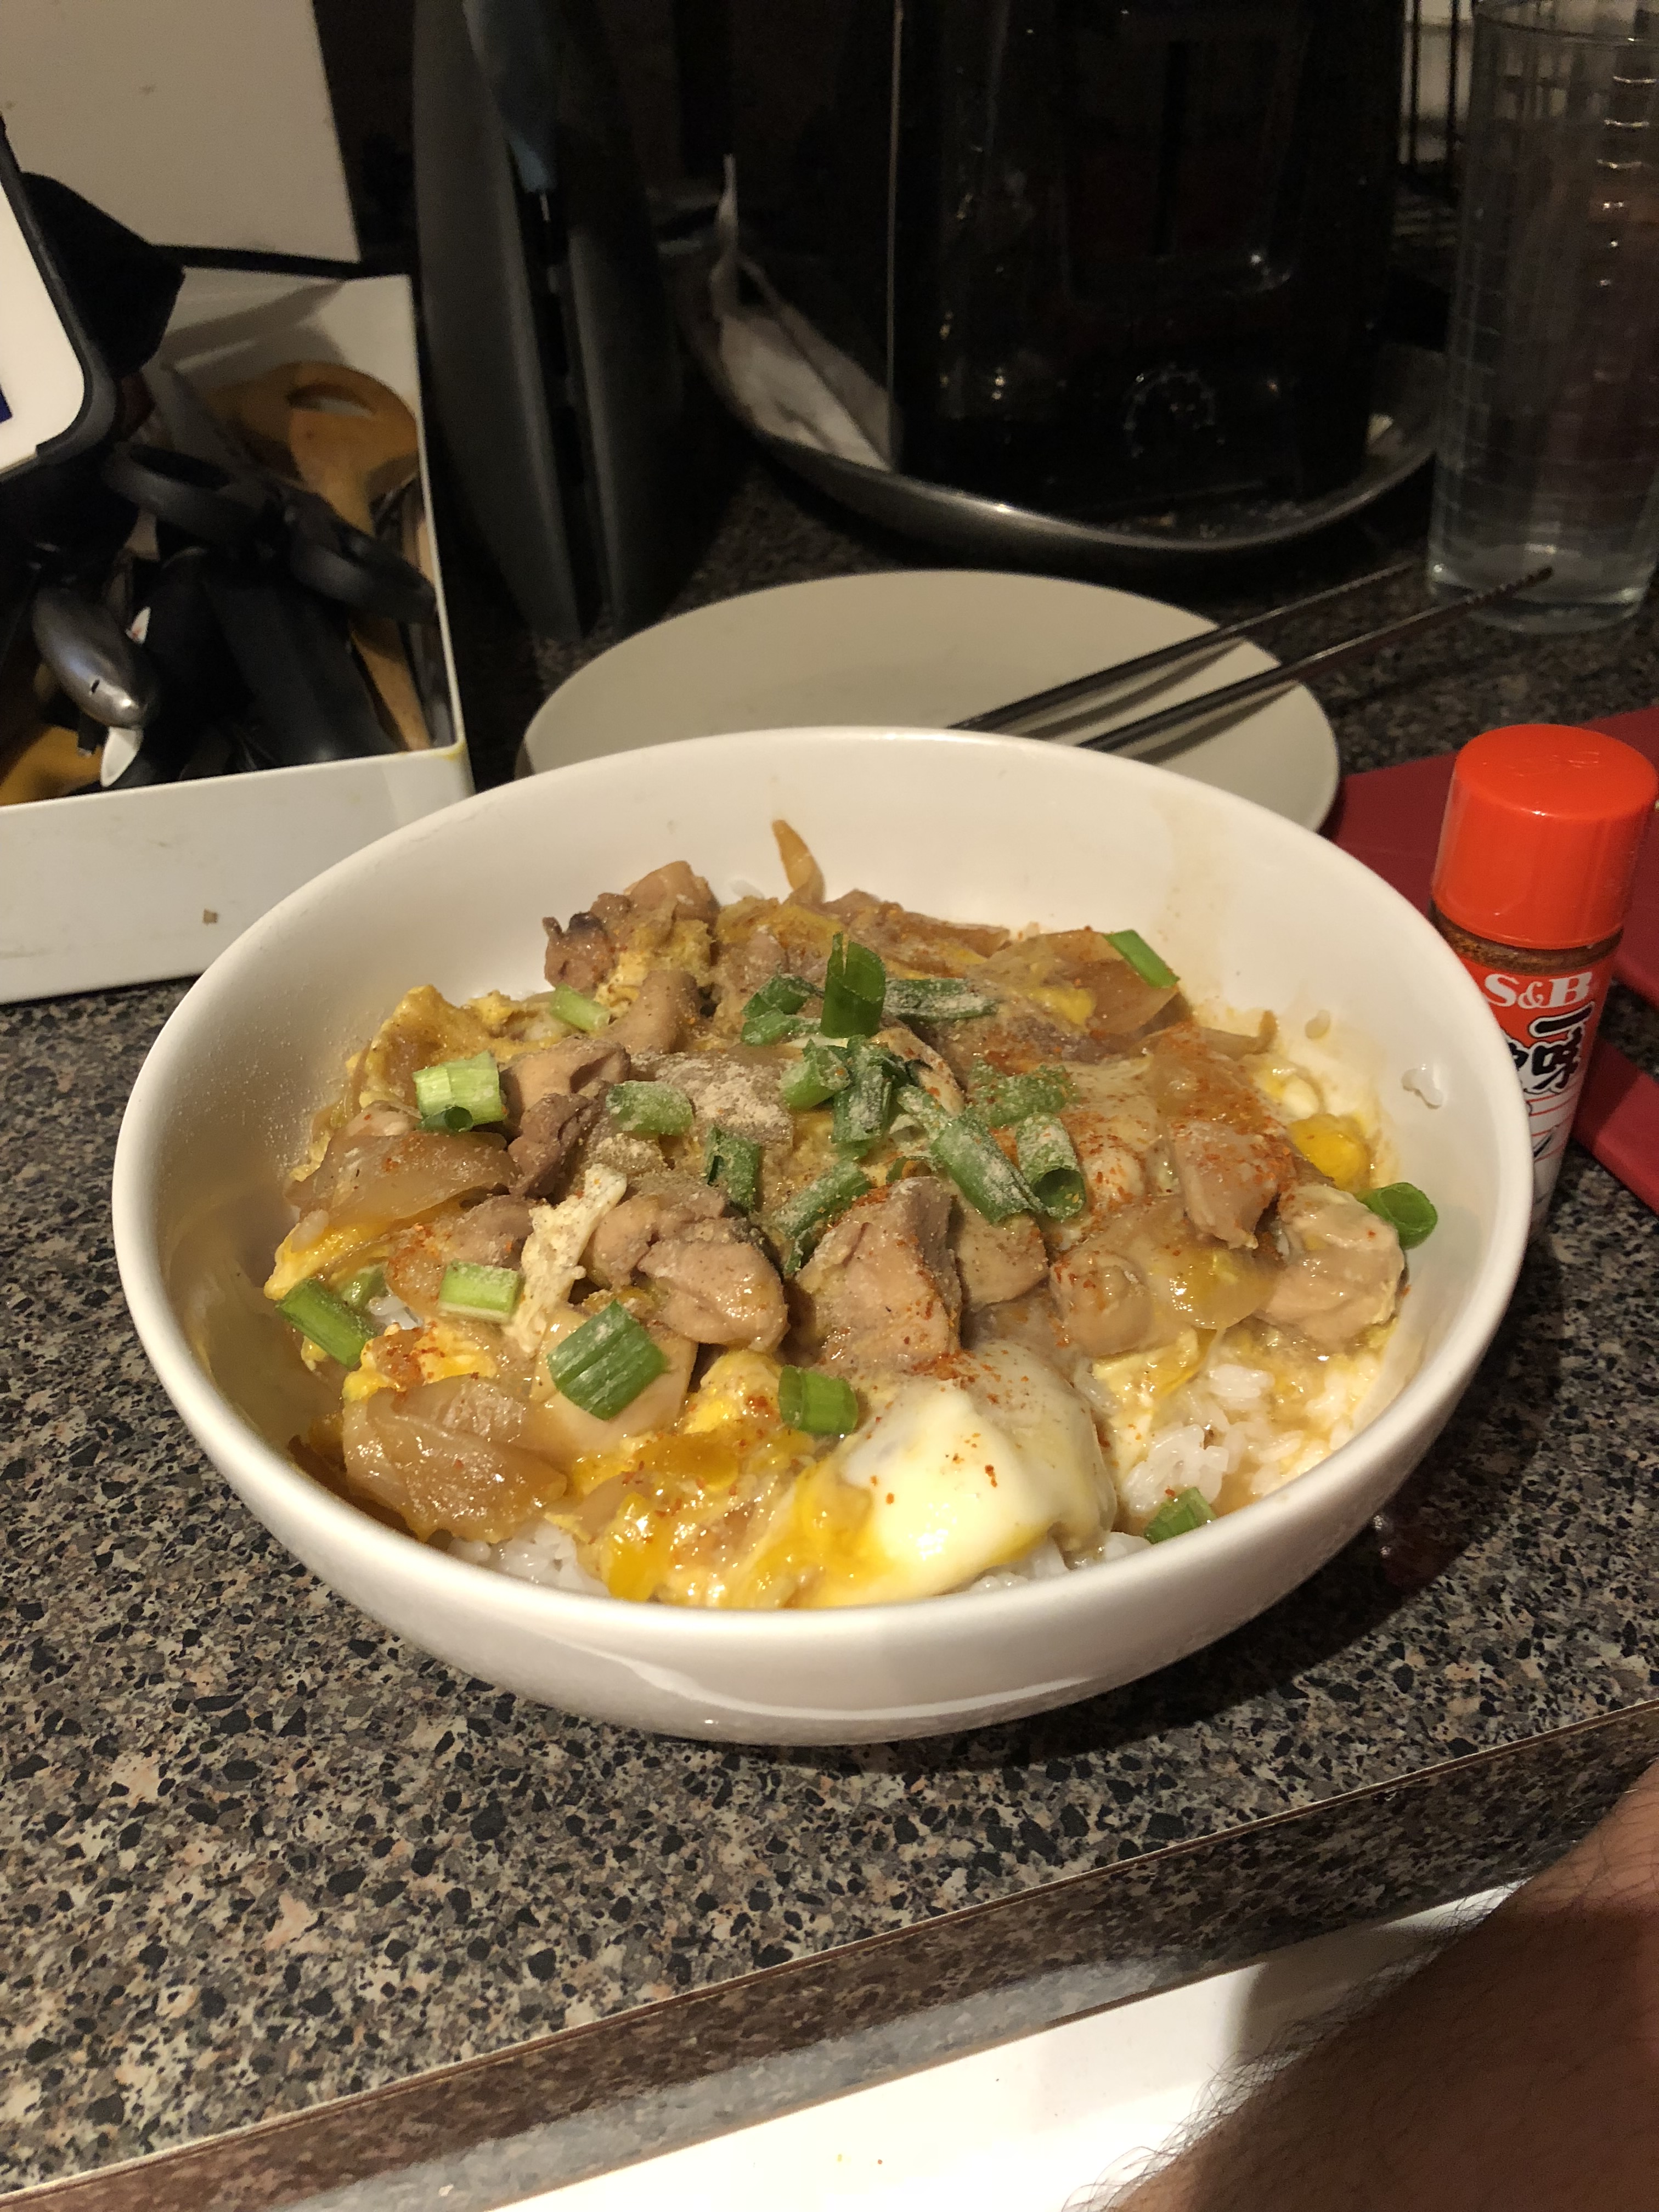
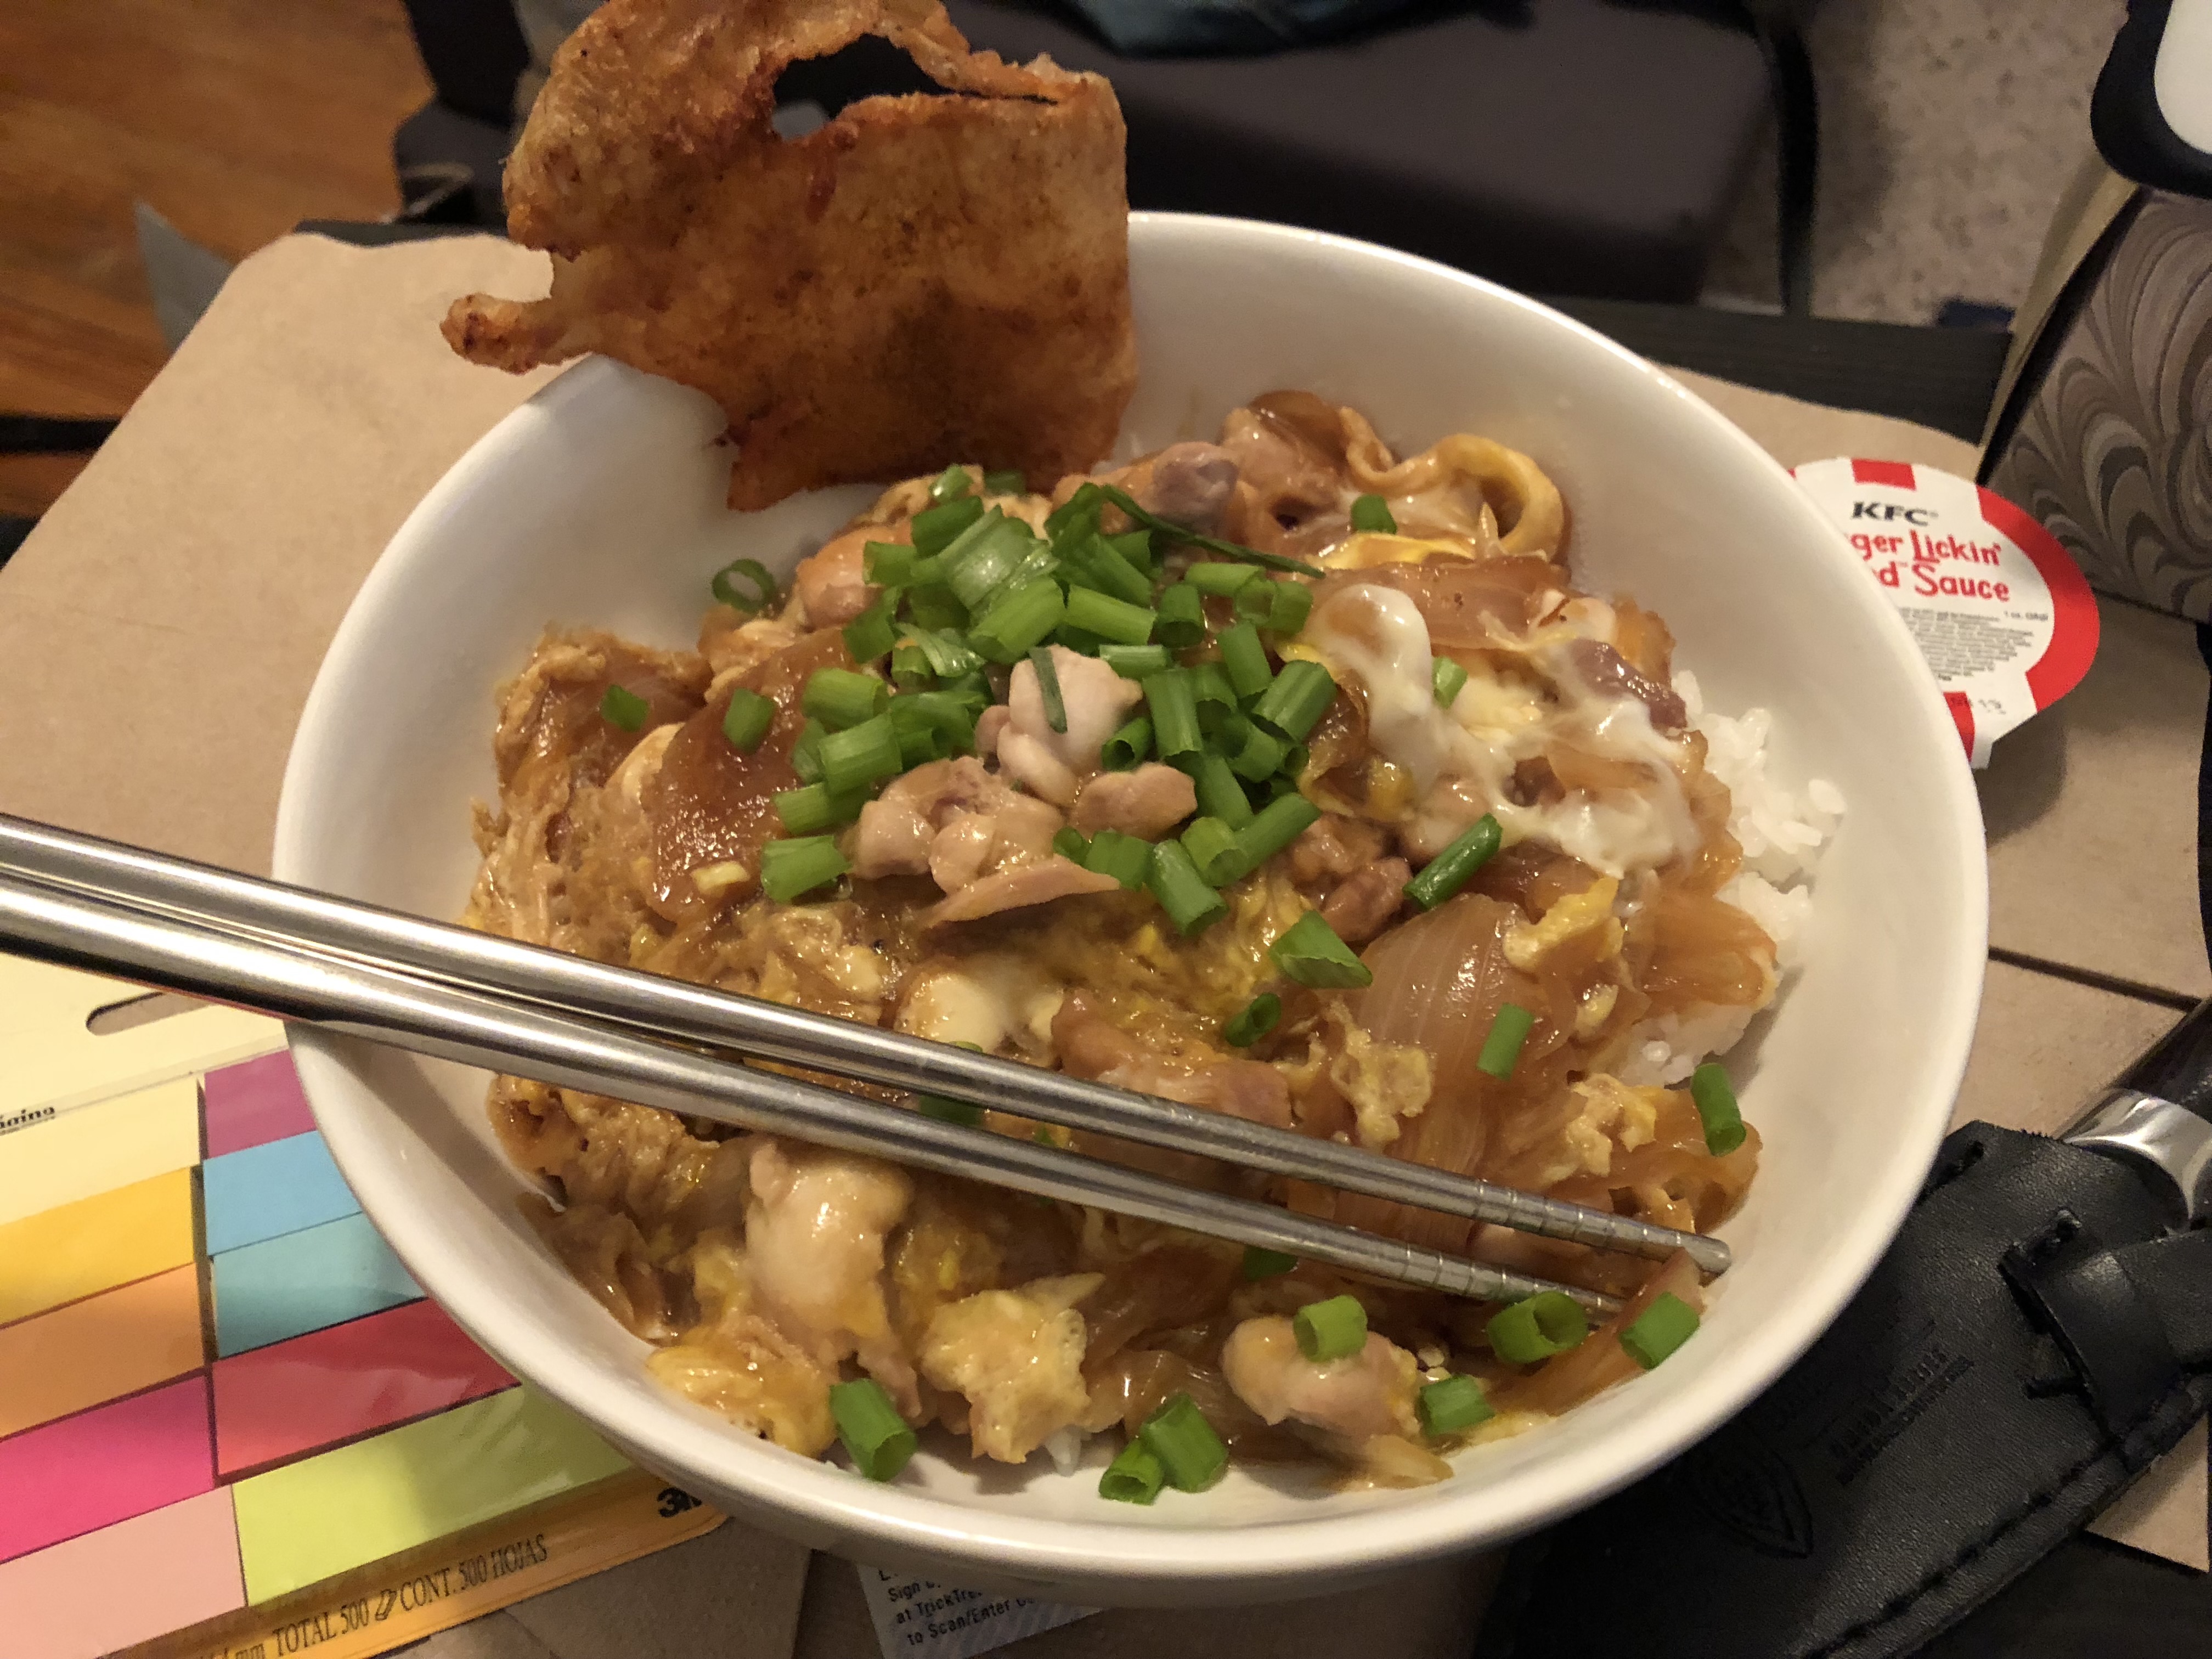
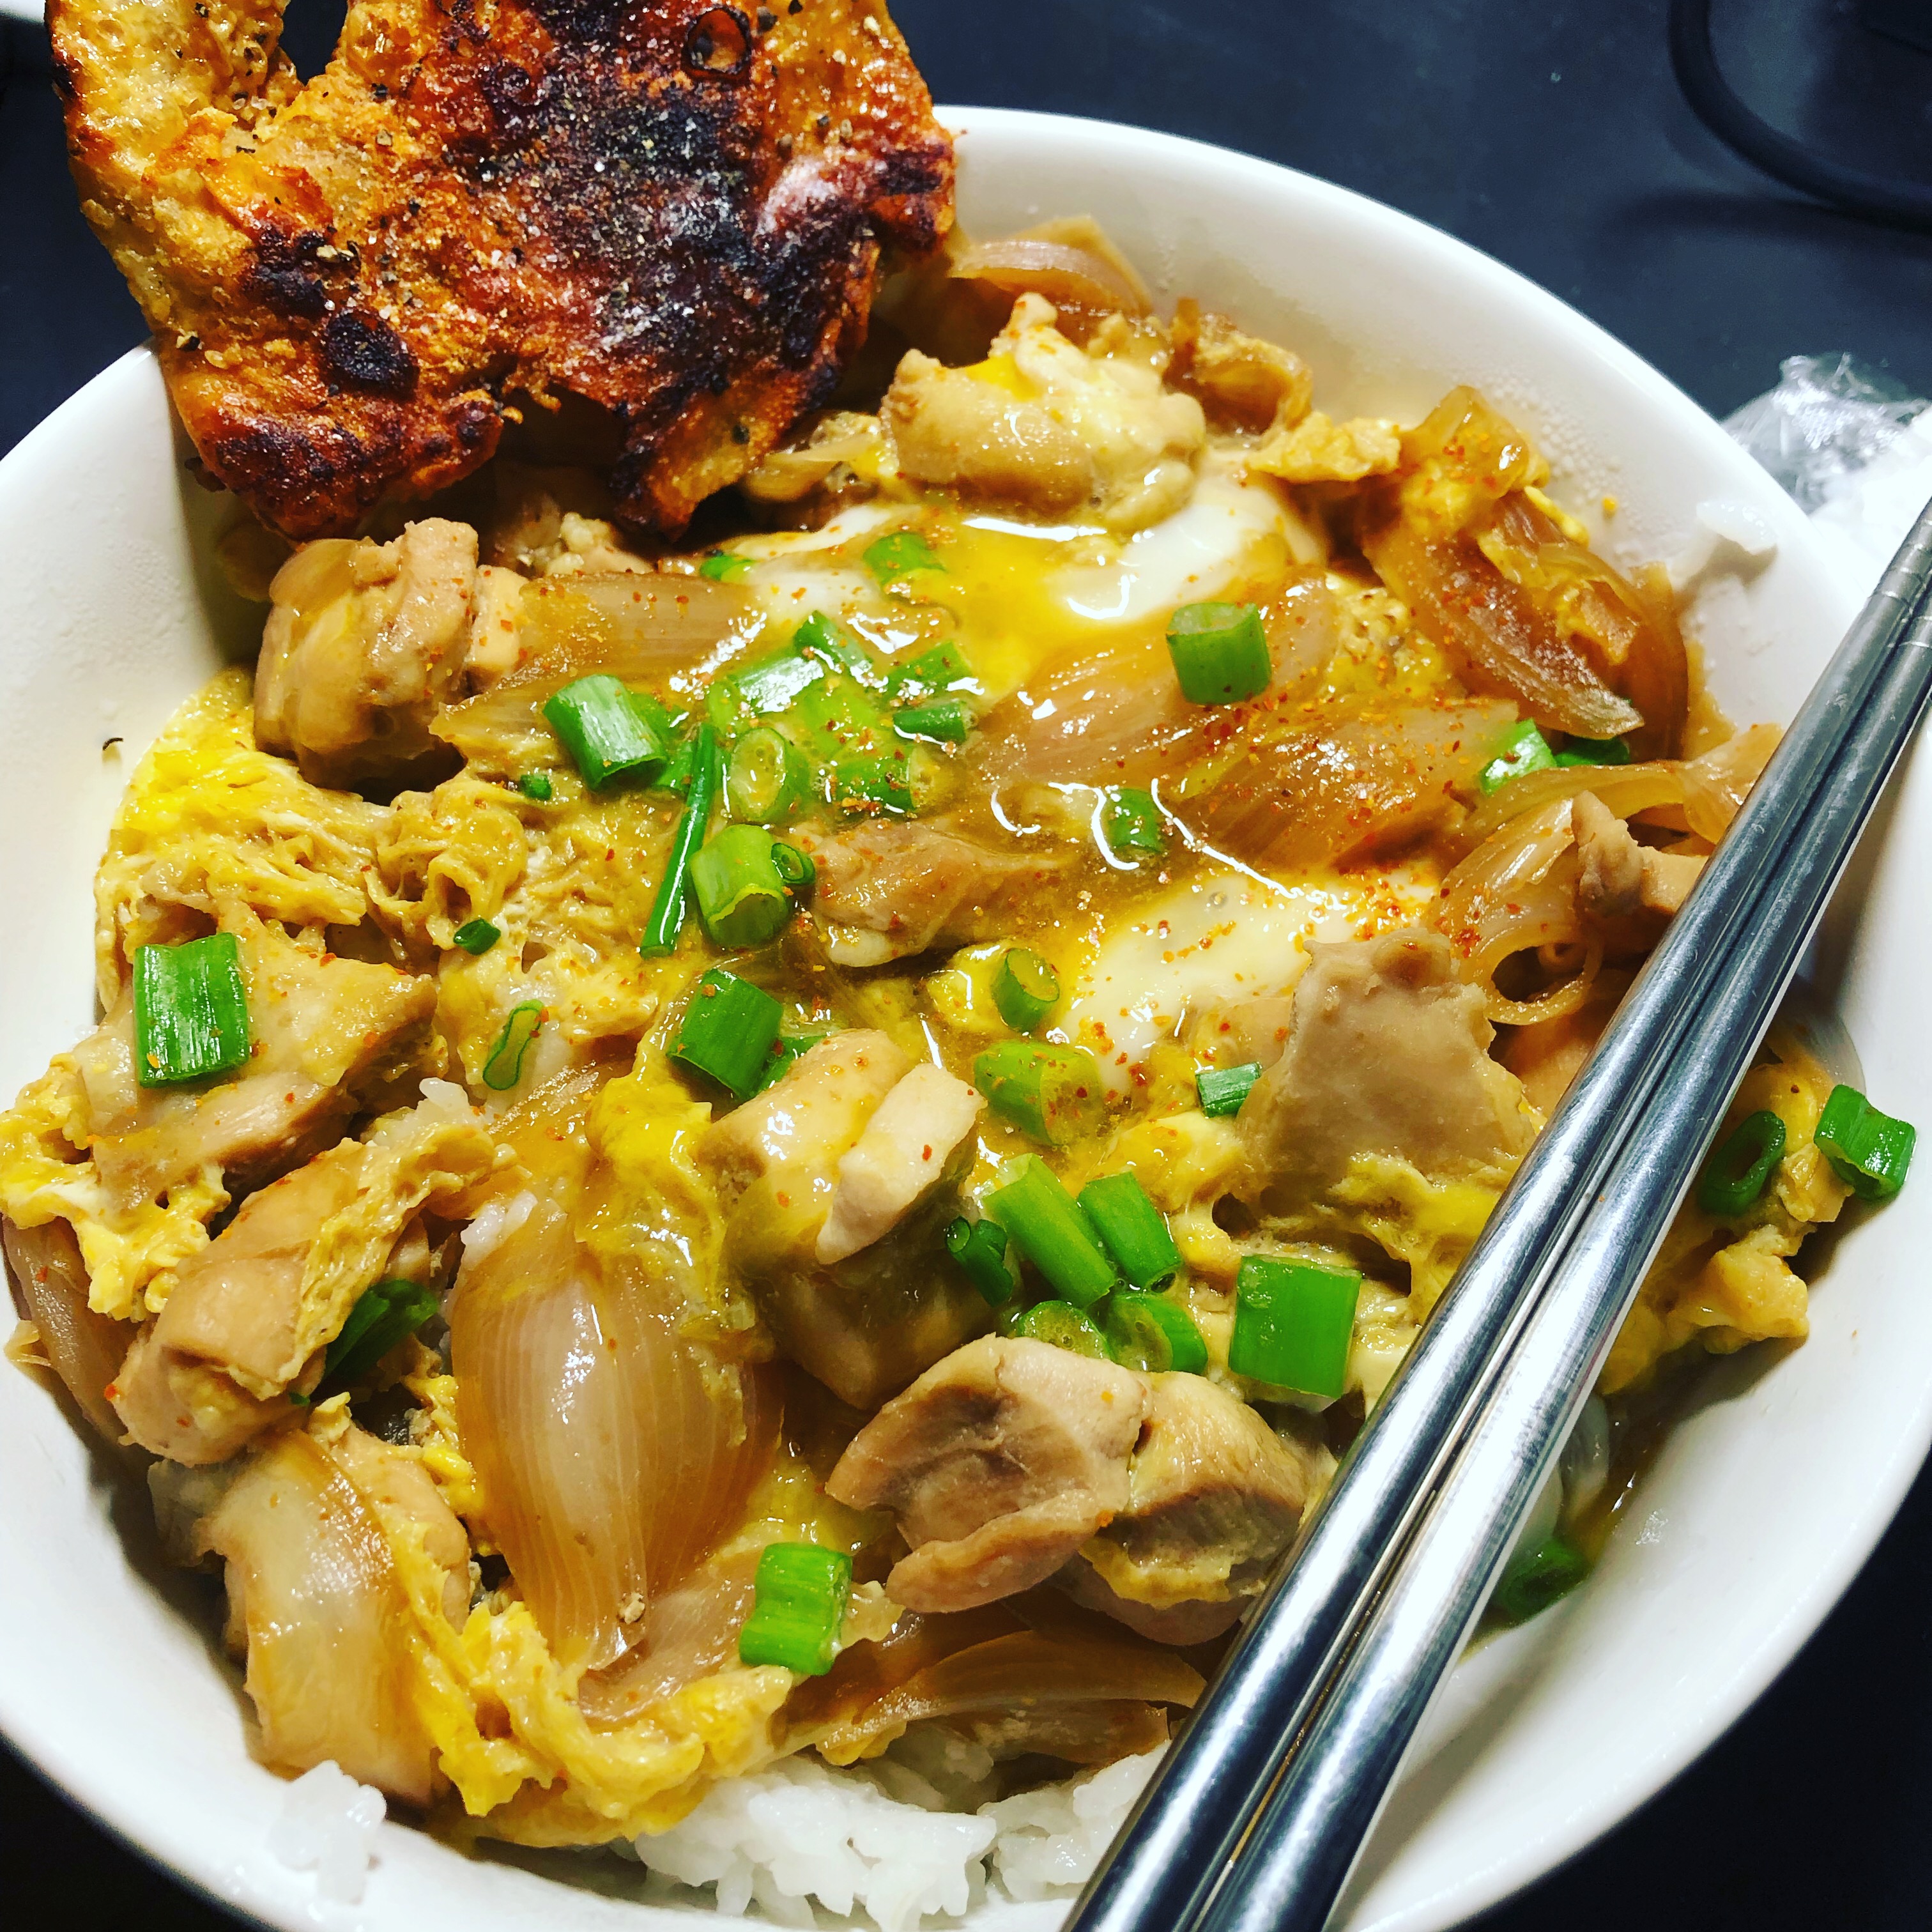
Here’s a collection of some of my Oyakodons from the years. The first picture was my first attempt. My last picture was the best one I made ever.